
Simple Valentine's Day Cake Recipe| Eggless Chocolate Cake
Welcome to a simple yet scrumptious chocolate cake recipe that will make your celebrations even sweeter! Whether it's Valentine's Day, a birthday, or any special occasion, nothing beats a homemade cake. In this guide, I'll walk you through the step-by-step process of creating a mouthwatering chocolate cake that rivals those from professional bakeries. Get ready to impress your loved ones with this delightful treat!


What is Chocolate Cake?
A chocolate cake is a type of cake made with chocolate or cocoa powder as one of the main ingredients. It typically has a rich, moist texture and a deep chocolate flavour. Chocolate cakes can vary in terms of sweetness, density, and richness, depending on the recipe and the addition of ingredients like butter, eggs, sugar, and milk. They are often frosted or decorated with chocolate ganache, icing, or other toppings, making them a popular choice for birthdays, celebrations, or simply as a decadent treat.
Ingredients:
- 1 cup all-purpose flour
- 1/2 cup powdered sugar
- 1/2 cup milk powder
- 1/4 cup cocoa powder
- 1 tsp baking powder
- 1/2 tsp baking soda
- 1 cup milk
- 2 tbsp refined oil
- 1 tsp vanilla essence
For garnish:
- 400 grams dark chocolate
- 1/4 cup fresh cream
- 2 tbsp butter
How To Make Chocolate Cake:
Step-By-Step Guide:
Step 1:Preparing the Dry Ingredients:
- Take 1 cup of all-purpose flour and sift it to remove any lumps.

- Add 1/2 cup of powdered sugar and 1/4 cup of cocoa powder to the sifted flour.


- Sift the dry ingredients again to ensure they are well combined.
- Add 1 tsp of baking powder and 1/2 tsp of baking soda to the mixture,sift again to combine thoroughly.


- Remember to pay attention to the measurements for a perfect cake.
-This step ensures a smooth texture for the cake batter, removing any lumps or clumps. Any residue left in the sieve can be discarded. Now, your dry ingredients are ready to be combined with the wet ingredients to make the cake batter.


Step 2:Preparing the Cake Tin:
- First, grease the cake tin. You can use butter paper if you prefer, or simply apply oil or ghee and sprinkle a little flour on it, coating it well.

- Here, I've applied oil, sprinkled about 1 tsp of flour, and then evenly spread the flour all around. This creates a non-stick layer on the cake tin, preventing the cake from sticking. Discard any excess flour, and your cake tin is now ready.


Step 3:Preparing the Wet Ingredients:
- Now, let's prepare the wet ingredients for the cake. Take a bowl and pour in 1 cup of lukewarm milk. Add 2 tablespoons of refined oil. I recommend using refined oil instead of butter because butter can make the cake too firm.


- Add 1 teaspoon of vanilla essence for flavour. I've used dark vanilla essence here to give the cake a slightly darker colour. Mix all these ingredients well.
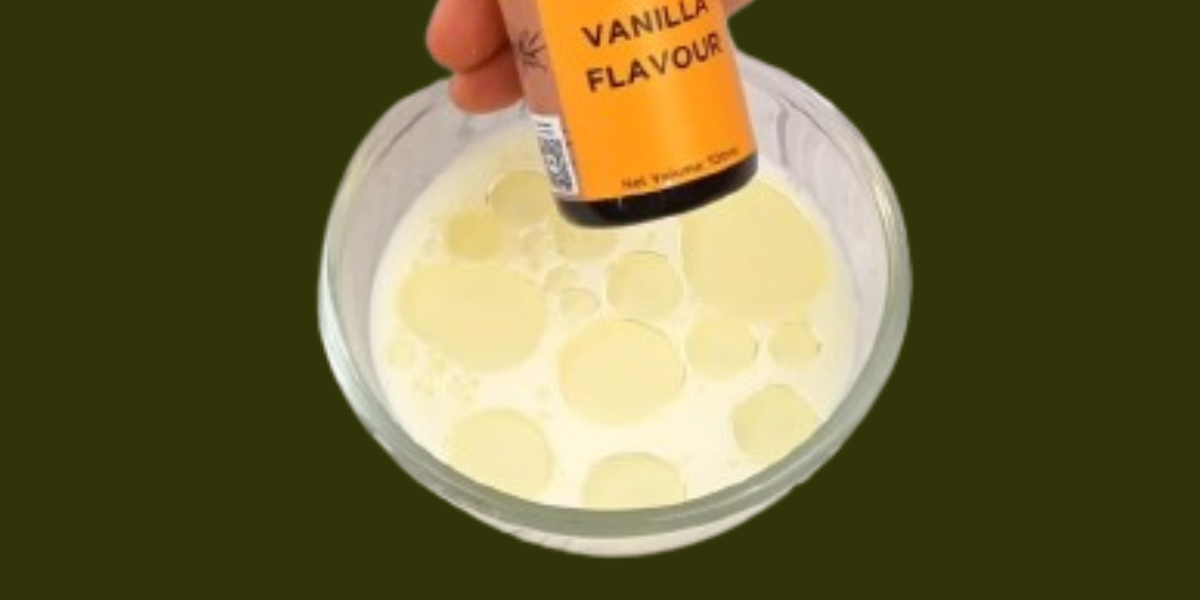

-Mix the wet ingredients thoroughly.

Step 4:Mixing the Batter:
- We've already prepared the dry ingredients and the wet mixture. The cake tin is ready as well. Now, let's move on to the final step of making the batter.
- In this bowl, we'll mix the wet mixture (the milk mixture) with the dry ingredients. After mixing both the ingredients, remember to keep the measurements accurate. You don't need to add any extra milk or water; the measurements are perfect as they are. The batter may seem a bit thin, but don't worry. Your cake will turn out perfect. You don't need to whisk the batter too much; just mix until everything is well combined.


- Mix them together until you get a smooth batter. Be careful not to overmix.

Step 5 :Baking the Cake:
- First, I have preheated the microwave oven to 180 degrees Celsius for 15 minutes.
- Now, pour the batter into the prepared cake tin. Since we are making a plain cake, we are not adding anything on top. However, you can add nuts like cashews or almonds if you prefer. If you don't want to decorate, bake it in the preheated oven at 180 degrees Celsius for 30 minutes.


- I have already preheated the oven for 15 minutes at 180 degrees Celsius. I'll set the oven to cake mode and set the timer for 27 minutes.

- In 27 minutes, your cake will be perfectly baked. Then, we'll take it out and let it cool. Let the cake cool completely before unmolding it. If you try to unmold the cake while it's still warm, it might break. If you find the top layer of the cake dry, cover it with a damp cloth to make it soft. So, we'll let it cool down completely.

Step 6: Preparing the Ganache:
- Now let's make the ganache. Here, we have taken 400 grams of dark chocolate in a bowl, and we need to melt it. You can do this using a double boiler or by microwaving it for 10 to 15 seconds. As soon as the chocolate begins to soften, immediately take it out and mix it.


- Next, we'll add cream and butter to it. This is a very simple way to make ganache. The chocolate has started to warm up and melt. We'll pour in 1/4 cup of Amul fresh cream - using a bit more fresh cream is recommended.

- Then add 2 tablespoons of butter. Mix all the ingredients well.

-Once mixed, we'll put it back in the microwave for at least 10 to 15 seconds. Microwave it for 15 seconds.


- This will soften everything, and the cream will prevent the chocolate from hardening. Here, I've warmed it up a bit more. You can take it out 2 to 3 times and check by mixing. Here, the chocolate has melted, so we'll whisk it well. The warmth will cause the chocolate to melt quickly. Mix it well. You'll need to put in a little effort, but after this, its texture will become smooth.


- You can add water to soften the texture. Remember, only add water when mixing to achieve a smooth, silky consistency. So, mix it well. Here you can see, the ganache is now ready.


Step 7:Assembling the Cake:
- Now we move on to the final process. Our chocolate cake has cooled down nicely, the colour looks good, and it feels soft. So, let's take it out of the cake tin. Before removing it, use a knife to gently scratch the edges to ensure the cake comes out easily. Then, place a plate or tray on top of the cake tin, flip it over, and give it a gentle tap. Look at how easily our cake came out, and we didn't even use butter paper. The cake looks perfectly shaped.


- If you don't want to decorate it, you can serve it as it is. However, since we're making a special cake, let's remove the top layer of the cake. We want the cake to be even, so we'll cut off the top layer using a knife, making sure it's level. Here, I'm removing the top layer. Look at how nice and soft the cake has turned out.


- Now, to soften it further, we'll add some sugar syrup. Pour a little sugar syrup over the cake to make it moist and sweet from the inside.


- Next, pour the melted chocolate over it and spread it evenly. I've spread chocolate all over the cake. You can also sprinkle grated chocolate on top.


- Our super tasty and amazing chocolate cake is ready. It's easy to make and if you follow the measurements, your cake will turn out perfect.

- Cut it and see how beautiful the texture is inside, soft and chocolaty. You can also design it with chocolate syrup. It looks just like a cake from the market. I hope you liked today's chocolate recipe. Make sure to try making this cake, your family will love it.

Step 8:Serve and Enjoy:
- Your delicious chocolate cake is now ready to be served.
- Slice and enjoy the moist and chocolaty goodness with your loved ones.
This recipe ensures a perfect chocolate cake with simple ingredients and precise measurements, guaranteeing a delightful treat for any occasion. Enjoy!
FAQs:
1. Can I use butter instead of oil in the cake batter?*
Yes, you can substitute melted butter for the refined oil for a richer flavor.
2. Do I need to sift the dry ingredients?
Sifting helps to remove any lumps and aerates the ingredients, resulting in a lighter cake texture. It's recommended but not mandatory.
3. How long does the cake need to cool before decorating?
Allow the cake to cool completely to room temperature before applying the ganache or any decorations.
4. Can I make the chocolate ganache in advance?
Yes, you can prepare the ganache ahead of time and store it in the refrigerator. Just reheat it gently before use.
5. Can I freeze the cake?
Yes, you can freeze the cake either before or after decorating it. Wrap it tightly in plastic wrap and store it in an airtight container.
6. Can I use white chocolate for the ganache?
- Absolutely! You can customize the ganache according to your preference.
7. Do I need to refrigerate the cake after decorating?
- If you're not serving it immediately, refrigerate the cake to preserve its freshness.
8.Can I add nuts to the cake batter for extra crunch?
- Yes, chopped nuts can be a delightful addition to the cake batter for added texture and flavor.
.jpg)
.jpg)
.jpg)
Post a Comment